 |
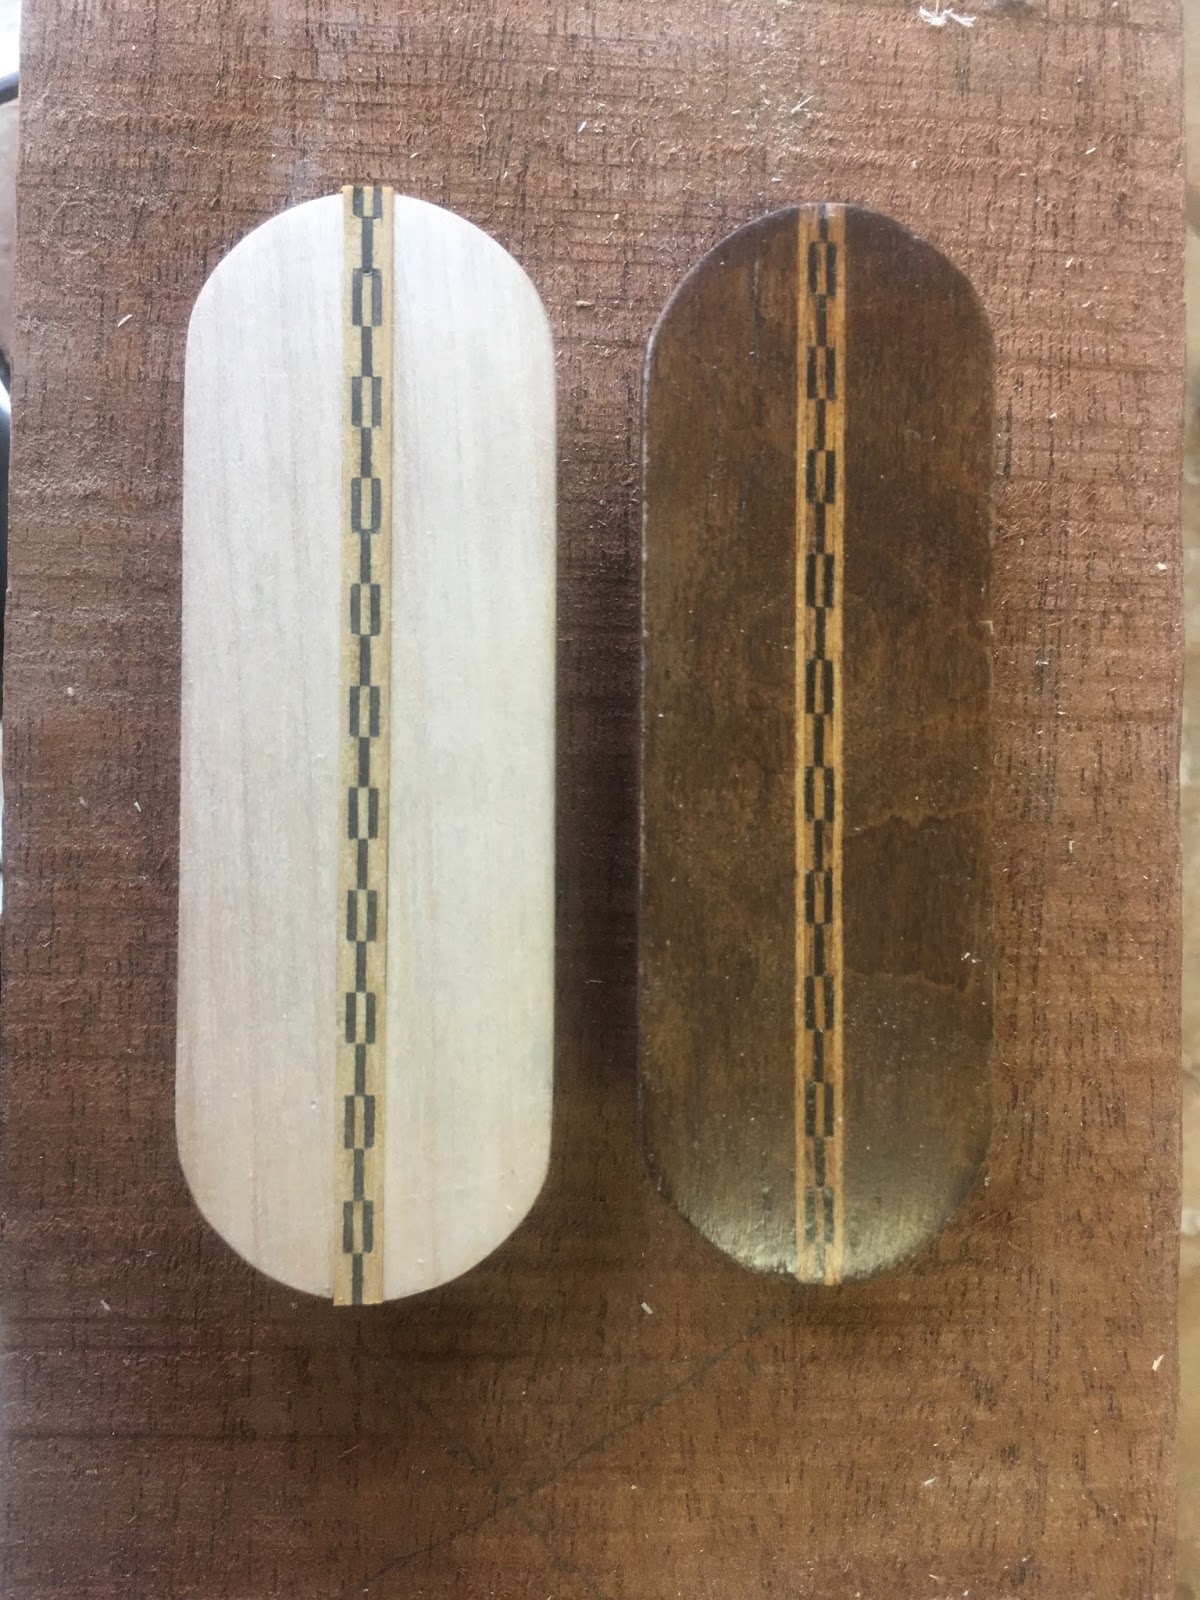
| The damage handle on the right. My reproduction on the left. |
Restorers love dogs! Especially if they enjoy chewing on furniture. This was the case with the handle seen above. Often when the damage has occurred there is usually no going back and saving what was left. A new handle had to be made to match the rest of suite of furniture in the home. Like everything in this field having to reproduce one of something is more time costly than making several.
Once I shaped the handle using the original as a pattern I was able to cut close to the shape on the bandsaw, sand to my lines with the Rigid belt and spindle sander combo machine, and than router cut the rabbets on the edge. Rabbeting the edges was easy but what about the ends?
Once the rabbets around the whole edge was cut it was time to shape the quarter round. Sadly a router bit couldn't take care of this issue quickly so I had to use a scratch stock and cutter.
 |
| Here is a view of the scratch stock and cutter working the ledge to shape. |
 |
| Another view of the cutter shaping the quarter round. The scratch stock made quick work of the lipping. |
 |
| Locating the cutter was simple because I had an original handle to match the location and desired shape. |
 |
| My favorite scratch stock cutters are old radius gauges. I own several that I use for its purpose in determining radiuses and for drawing. But one added bonus is to use them as scratch stock cutters. I know... I know this sounds crazy but these are often thrown away by many tool dealers. So why not give them another life. |
 |
| Once all the scratch stocking is done I proceed to further refining the edge with a carving tool. After a little sanding I am ready to cut the groove for the banding. |
 |
To cut the groove for the banding I used a straight bit mounted in a router table. I centered the groove to match the original. The banding I made for the handle came from old stock I had on hand and was the proper color. It may not be the same species as the original but its close enough. I glued the banding with fish glue which is a protein glue, sets quickly, and dries in a couple hours.
Next comes the easy part, a little color, finish and wax. In the end this was a lot of work and I should of charged $400 but you live and learn. Just another day saving furniture.
Cheers!
|


No comments:
Post a Comment